Smart Technology
Form 3 - ECA
2024-2025
Floor 4 - Computer Room
Mr. Peter
Outline
Outline
Simple review about microbit

1
Introduction to LED code block
2
LEDs exercises
3
Let's learn Microbit

Introduction to LEDs in Microbit

Introduction to LED code blocks
Turn on the (0, 0) LED
Turn off the (0, 0) LED
Reverse the (0, 0) LED status
Get the (0, 0) LED current status
Examples of control LED in Microbit
Declare x and y variables for storing coordinates of LED


Ex02_1 - Control the LED
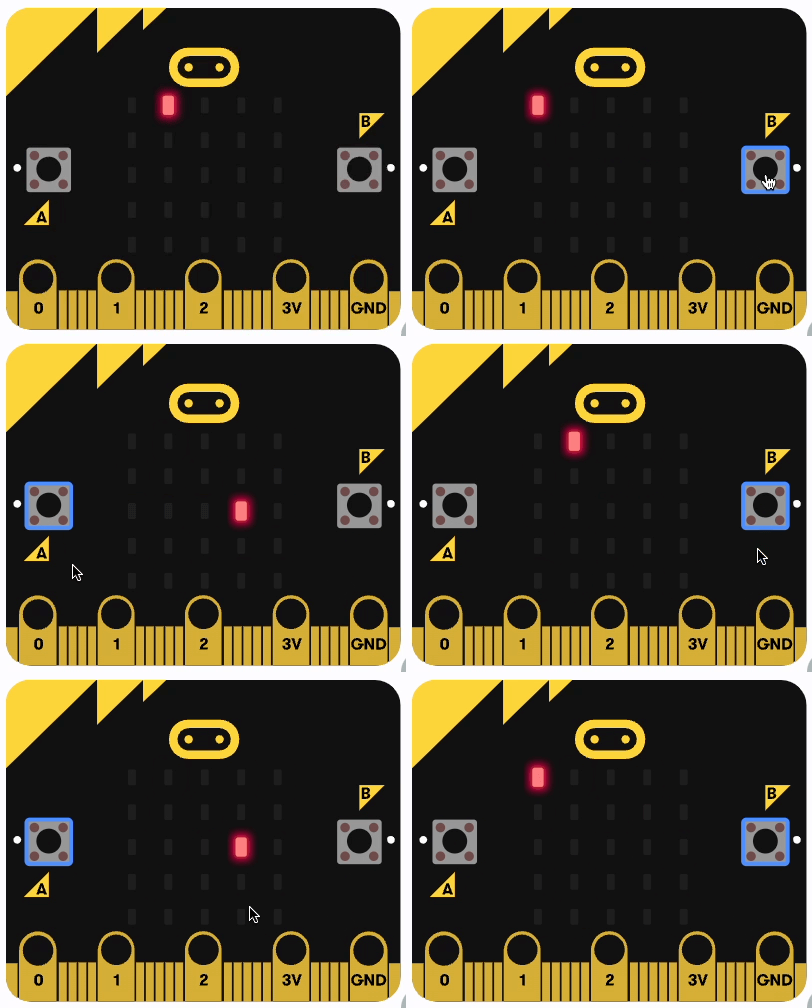
Use A & B button to control the first row of a LED movement.

Ex02_1 - Control the LED
Add X variable and set it as zero value at the beginning.
1
Use A & B button to control the first row of a LED movement.
Add A & B button events to increase or decrease X variable value.
2
Plot / Unplot a LED according to the X variable value, and the parameter of Y axis is set to zero.
3

Check the X value when button event is triggered and prevent passing an invalid value to the Plot code block (X value range is 0~4).
4
name it as 01_YourName_Ex02_1.hex

Download it
Ex02_1 - Control the LED
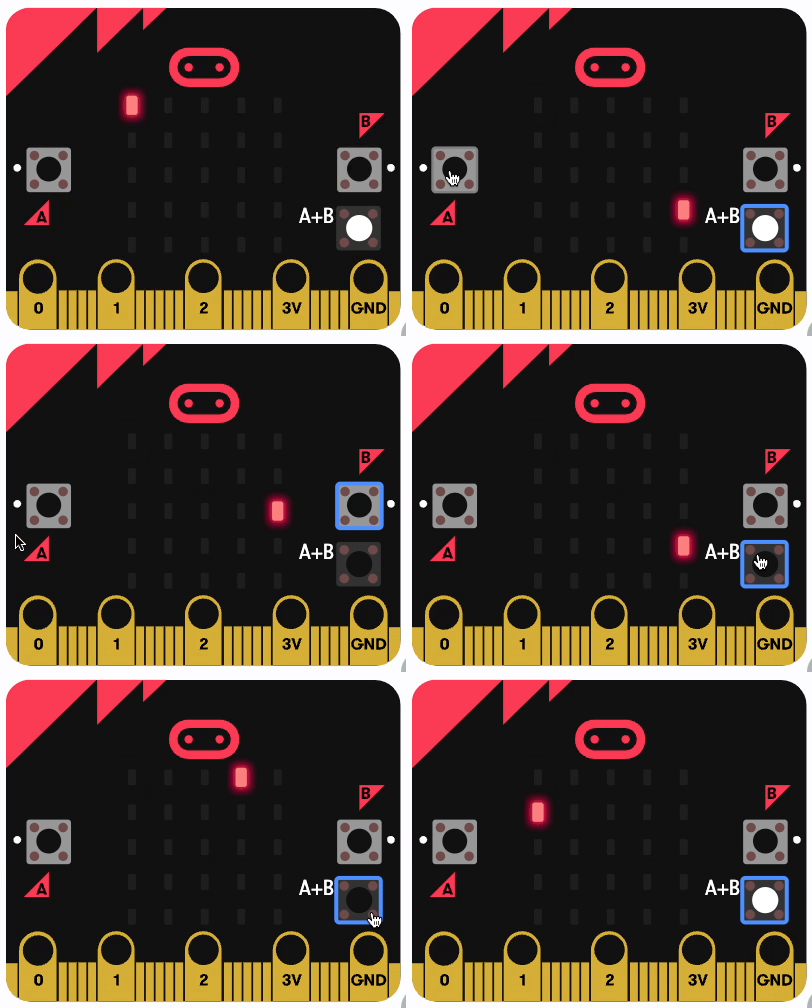
Control the Y axis of the moving LED by pressing both A&B button

Ex02_2 - Control the LED
name it as 01_YourName_Ex02_2.hex

Download it
Ex02_2 - Control the LED
Ex02_3 - Looping the LED
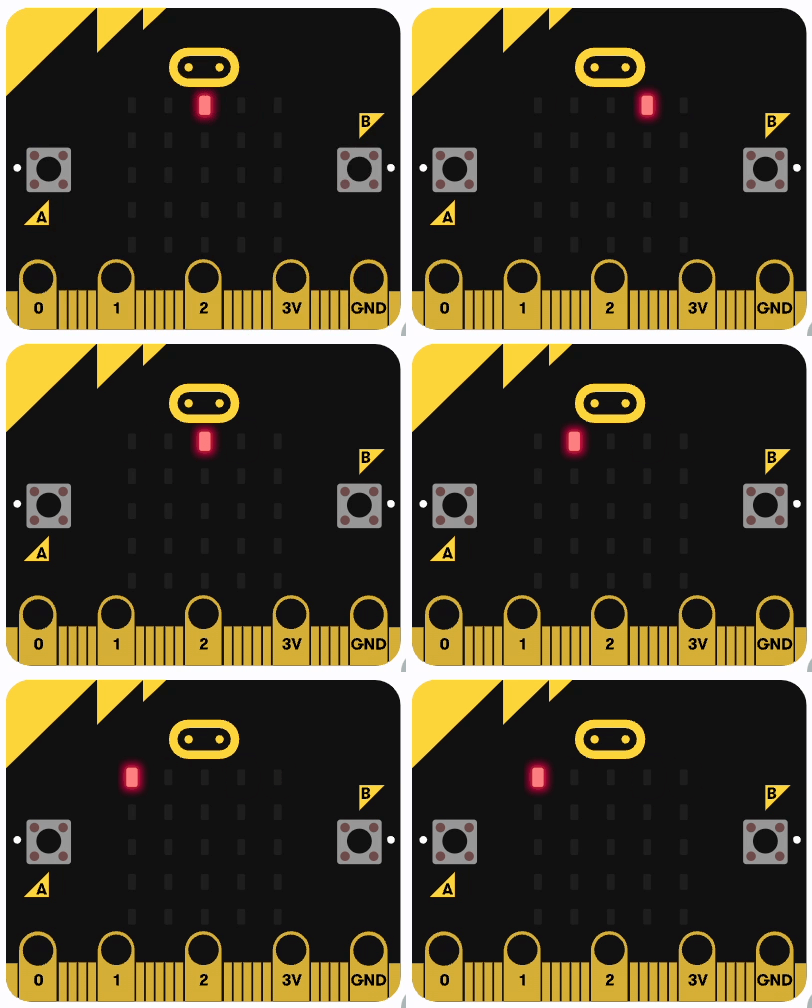
Control the LED is moving from left to right using Plot Code Block

Ex02_3 - Looping the LED
Add X variable and set it as zero value at the beginning.
1
Control the LED is moving from left to right using Plot Code Block
Use repeat code block to repeat 4 times (X value from 0 to 4)
2
Increase X variable value in each loop
3

Unplot previous plotted LED
4
Plot LED using the X variable
5
Check the X variable and set it back to zero if X value is out of range (0~4)
6
name it as 01_YourName_Ex02_3.hex

Download it
Ex02_3 - Control the LED
Ex02_4 - Looping the LED
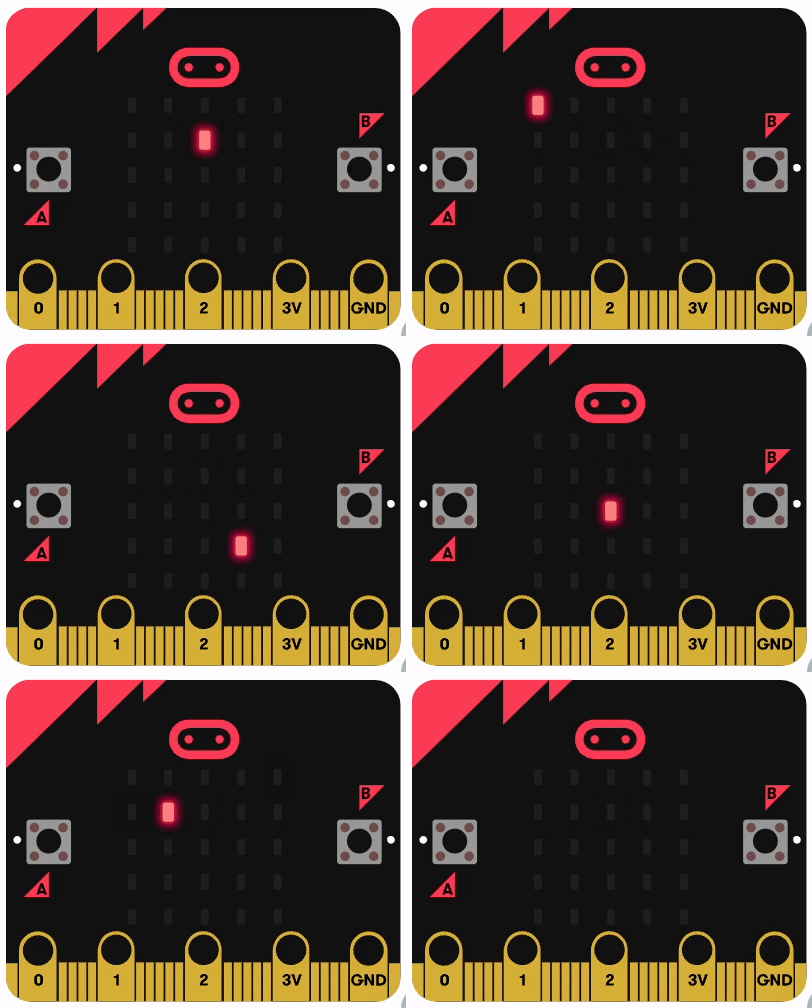
Control the LED is moving from top to bottom

Add Y variable and set it as zero value at the beginning.
1
Control the LED is moving from top to bottom
Increase Y variable value in each looping ended
2
Check the Y variable and set it back to zero if Y value is out of range (0~4)
3

Ex02_4 - Looping the LED [Part 2]
name it as 01_YourName_Ex02_4.hex

Download it
Ex02_4 - Control the LED
Ex02_5 - Looping the LED
Control the moving speed of LED

Add Speed variable which represent the moving speed in microseconds and set it as 400 value at the beginning.
1
Control the moving speed of LED
Add A & B button to increase or decrease the speed variable value.
2
Set the speed variable as the pause time between plot and unplot of LED
3
Ex02_5 - Looping the LED

name it as 01_YourName_Ex02_5.hex

Download it
Ex02_5 - Control the LED
Smart Technology - Lesson02
By Mr Peter
Smart Technology - Lesson02
- 650


